Azure Static Web Apps, gohugo.io and TailwindCSS
Recently I spent a few (too many) hours to rebuild my personal website. It still use Hugo and Tailwind CSS, but I have changed hosting from using a storage account in Azure to using Azure Static Web Apps. The change has brought along some limitations, but it has also made the build pipeline a lot easier.
If you’re not familiar with static site generators in general, or Hugo spesifically I advice you to spend a few minutes checking their documentation. To explain this very quickly, a static site generator’s purpose is to render content into static HTML files. This enables you to write content in a more comfortable format (like Markdown), use a framework of templates to describe how the content will be displayed, and upload the output to basicly any hosting provider. The end result is cheap hosting that can easily be cached by a CDN for great performance compared to when rendering is done dynamically.
Typically the process of using a static site generator will look something like this:
- Write content on your local machine
- Run the static site generator to generate HTML
- Upload the generated HTML to a hosting provider
As we don’t like manual labor we can automate step 2 and 3 of the process above with our favorite tools. It can be done by shell scripts, orchestration tools (e.g. Ansible) or we can store our content in version control and combine it with some kind of build pipeline like Azure DevOps, CircleCI, CI/CD Pipelines in GitLab.
For beginners, setting up an entire CI/CD pipeline from scratch can feel like a daunting task. You will often need to connect to a data source, handle variables with tokens for authentication, handling software dependencies on build agents (or even running your own agents) etc. Using Azure Static Web Apps will do most of these steps for you and often require no or very little modification.
Why use Azure Static Web Apps?
- It’s free. As long as your website is <250mb the free plan will work just fine for a static website, and if you need a bit more it’s still very cheap
- Free certificate. It’s 2021. Everyone should use https
- Easy integration with GitHub for version control and GitHub Actions for automatic builds
- Separate test environment to preview changes
- Multiple PoPs (Point of Presence) globally
- Automatic cache invalidation on deployments
Setup and configuration
Microsoft has a great tutorial on everything you need to set up a site built with Hugo here: Tutorial: Publish a Hugo site to Azure Static Web Apps. To get the basic setup done I recommend reading and following that tutorial.
One modification to the configuration I had to do was related to Tailwind CSS. Tailwind provides a lot of classes that inevitably results in a humungous css file. Having all classes available is fine for testing and developing locally, but to increase performance in the production environment a few steps should be taken to decrease size.
Luckily they have a nice guide on Optimizing for production, pitfalls to look out for and how to purge unused classes from the generated CSS. As I don’t want to think about fixing this when doing changes to my Hugo theme I also want this to be part of my pipeline. This also means my workflow in GitHub Actions need to resolve dependencies and add steps for building my CSS.
Open your repository, either in a browser, or by using an editor like Visual Studio Code and open the file .github/workflows/azure-static-web-apps-<unique identifier for your static web app>.yml and add these three steps above the line: - name: Build and Deploy:
1- name: Setup NPM
2  uses: actions/setup-node@v2
3- name: Install dependencies
4  run: cd themes/medvind && npm install && cd ../..
5- name: Build TailwindCSS
6  run: cd themes/medvind && npm run production && cd ../..
The first step will add the NPM package manager we need to install dependencies, the second step will install the dependencies we have described in our package.json-file, and the third will generate our production ready CSS.
In my project, the package.json-file looks like this:
 1{
 2  "devDependencies": {
 3    "@tailwindcss/typography": "^0.4.1",
 4    "autoprefixer": "^10.3.1",
 5    "postcss": "^8.3.6",
 6    "tailwindcss": "^2.2.7"
 7  },
 8  "scripts": {
 9    "test": "npx tailwindcss build -i ./src/tailwind.css -c ./src/tailwind.config.js -o ./static/css/medvind.css",
10    "production": "NODE_ENV=production npx tailwindcss build -i ./src/tailwind.css -c ./src/tailwind.config.js -o ./static/css/medvind.css --minify"
11  }
12}
The next time we push a commit to our repository in GitHub, the workflow will run, and our website will be updated. If we make a habit of doing our changes in separate branches a separate environment will be created in our Azure Static Web App where we manually can verify our changes (or we can create automated tests) before we merge our changes to production.
Note: By default, Hugo use the baseURL set in config.toml to create absolute URLs. When using multiple environments with different baseURLs we need to set baseURL=""and relativeURLs = "true"
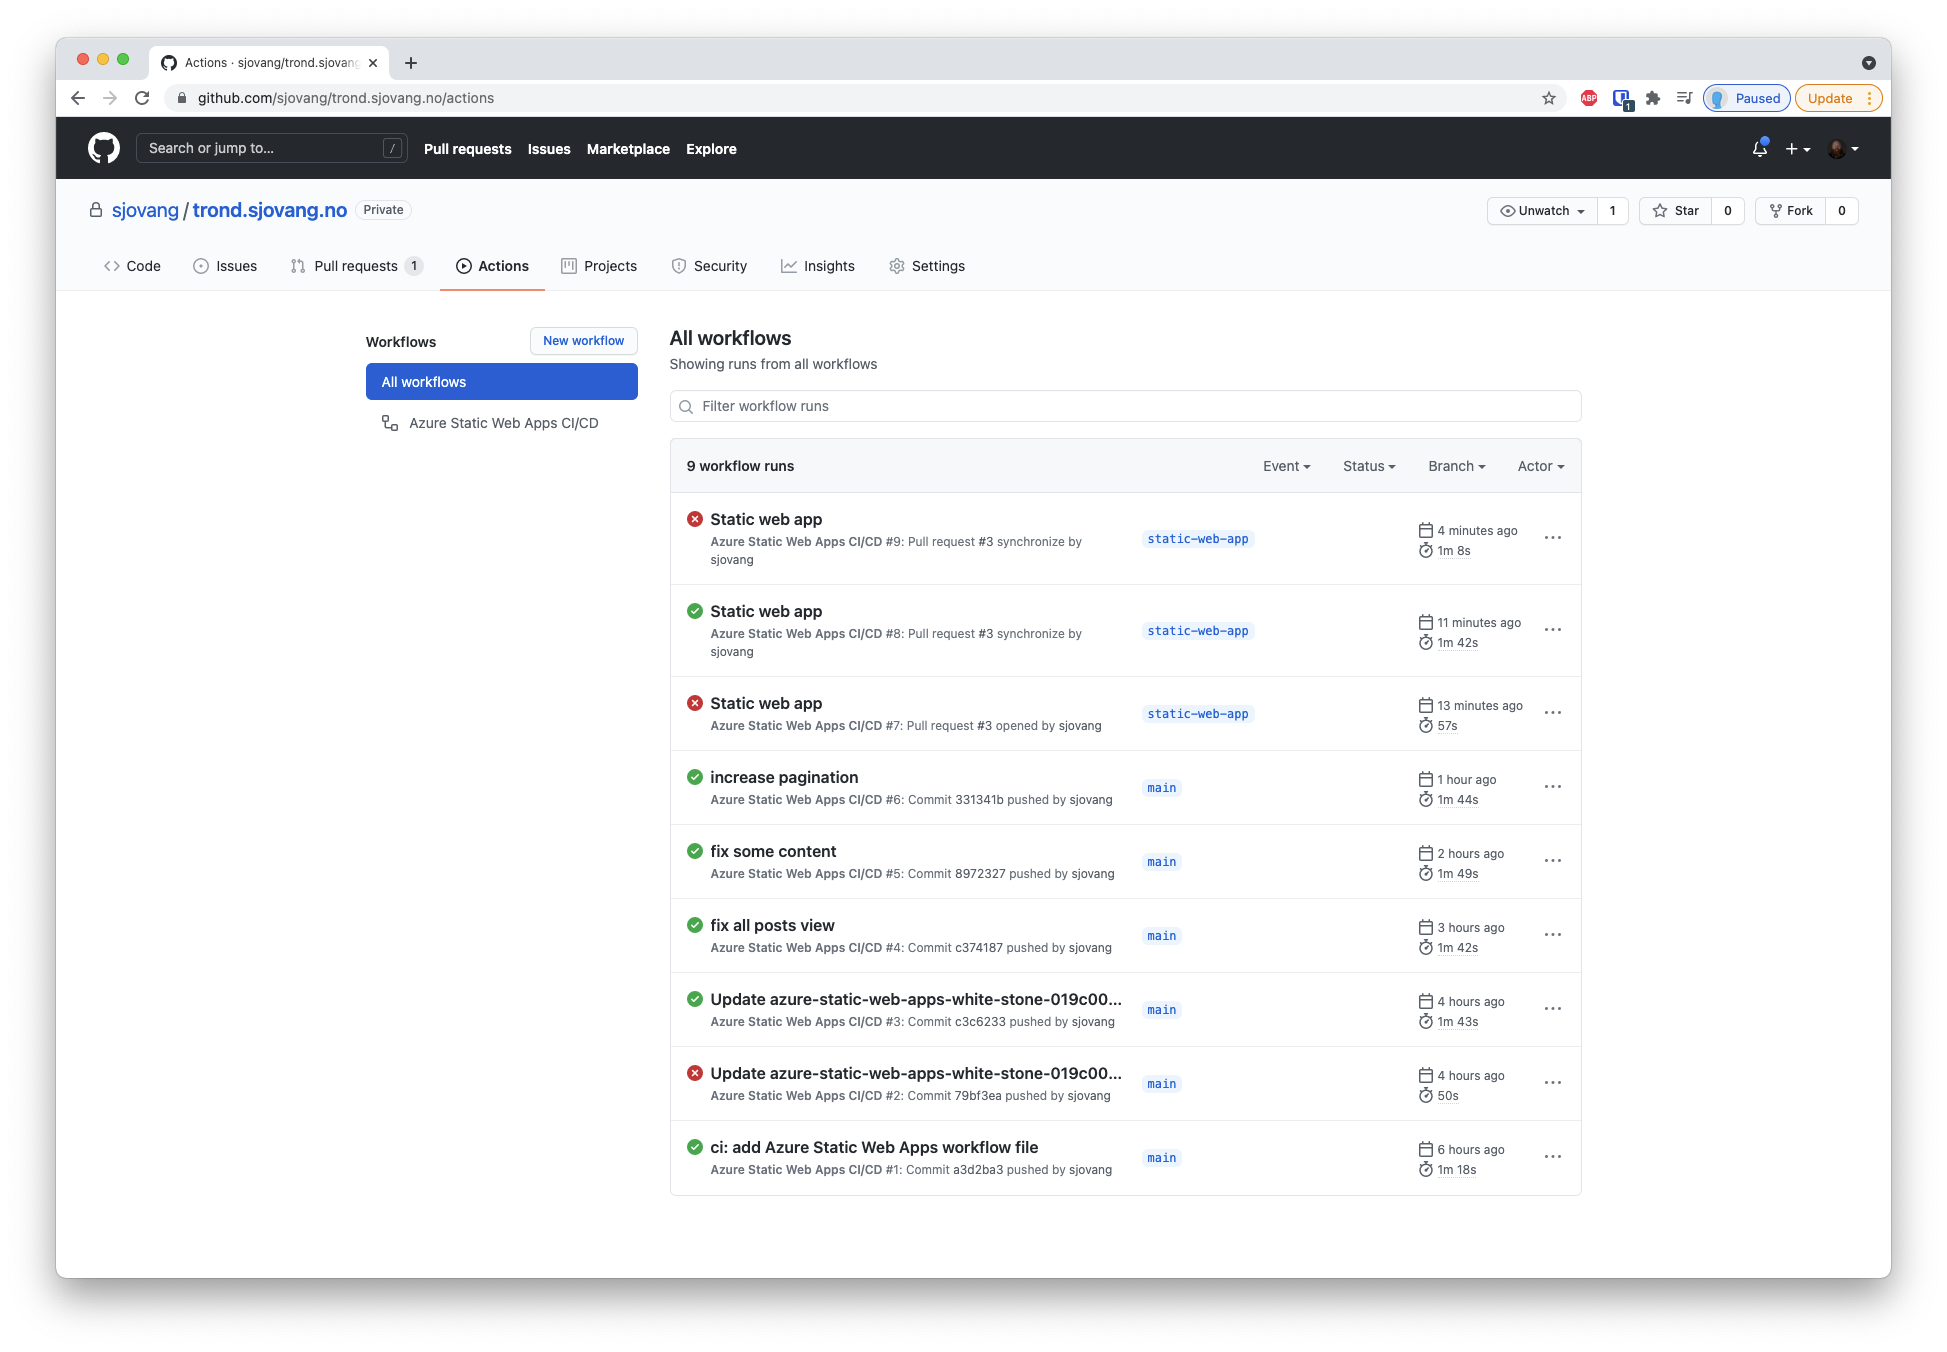
To view the status of our workflow runs we can open our GitHub repository in a browser and click on Actions:
We can also open each run to see details and troubleshoot errors when builds have failed:

To summarize, our entire workflow now could look something like this:
- Check out repository from GitHub
- Create feature branch for the changes we are about to make
- Make changes
- Commit changes and push our branch to GitHub
- Create pull request to merge changes with our
mainbranch - Verify changes in test environment
- Approve pull request to merge changes and let website be updated